Mabon is the second harvest festival and is considered to be the witches thanksgiving. It is celebrated on the autumnal equinox. This is a celebration of the Earth’s bounty, a time to rest after the hard work of harvest and also to recognize the darkness and cold that lies ahead. Reflect on your life over the past year, celebrate your successes, finish up projects that have been waiting and plan for the future. This is a good time to hold a rite for blessings and protection for your hearth and home.
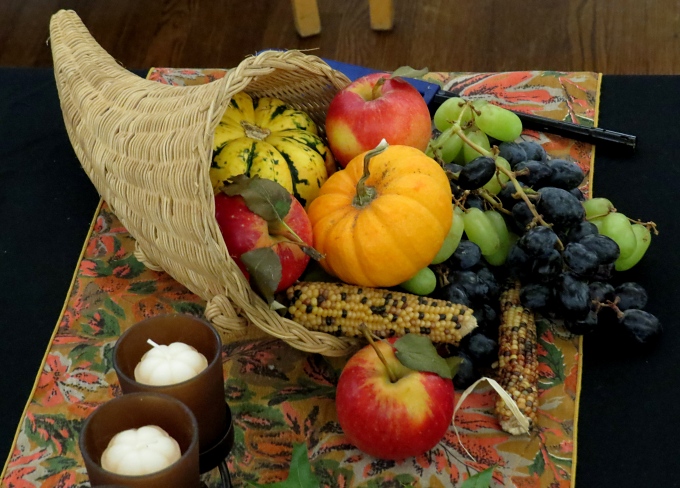
Some of the symbols of Mabon are gourds, squash, corn, apples, etc., the products of the harvest. Also scythes, sickles and baskets. The colours of Mabon are brown, orange, gold and red, the colours of the turning leaves. Because it is the equinox, symbols of balance are also appropriate; a set of scales, yin and yang, black and white, and so on.
Some of the symbols of Mabon are gourds, squash, corn, apples, etc., the products of the harvest. Also scythes, sickles and baskets. The colours of Mabon are brown, orange, gold and red, the colours of the turning leaves. Because it is the equinox, symbols of balance are also appropriate; a set of scales, yin and yang, black and white, and so on.
Mabon is actually a figure from Welsh folklore, appearing in Arthurian legends. There is no evidence that the tradition of calling this sabbat “Mabon” existed before 1970. Author Aidan Kelley renamed many of the sabbats at this time and “Mabon” was chosen in an effort to give the holiday a more Celtic sounding name. Because of its recent addition, the term is hotly contested and the controversy is shared with some of the other festivals so renamed. Many pagans scorn the use of the word Mabon, preferring the older more traditional names of Second Harvest Festival, Harvest Home, Herfest, Alban Elfed or simply the Autumnal Equinox. I embrace the term Mabon as a symbol of the fluidity and flexibility of pagan belief. I also find it appropriate to use a “new” word as it reminds me that we should embrace the new as well as preserve some of the old traditions.
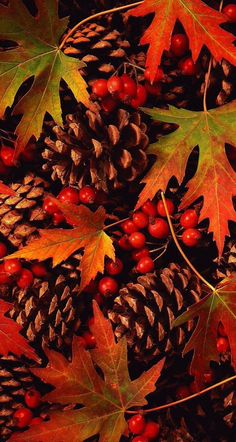
Mabon is celebrated in a number of ways, but the most common is with a banquet. This is an occasion to dress in your finery and feast in a lavish setting. Apple cider and corn bread are usually served along with the rest of the meal, and the decorations include symbols of the harvest and of the changing season. Gourds, squash, fallen leaves, pine cones, etc. make great centrepieces for the table and the altar.
Mabon is celebrated in a number of ways, but the most common is with a banquet. This is an occasion to dress in your finery and feast in a lavish setting. Apple cider and corn bread are usually served along with the rest of the meal, and the decorations include symbols of the harvest and of the changing season. Gourds, squash, fallen leaves, pine cones, etc. make great centrepieces for the table and the altar.
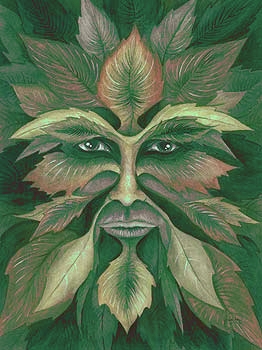
The Green Man, God of the Forest, is usually honoured at this time by offering libations to the trees. Some other Mabon activities include making a besom, or a god’s eye.
How to Make a Besom
A traditional besom is constructed completely from trees. A 2.5 cm (1 in) thick and 1.2 m (4 ft) length of ash, oak, hazel or rowan is used for the handle. (Or whatever length is comfortable for you!) Birch twigs about 1 m (3 ft) long, are usually used for the bristles but you can substitute myrrh, mugwort, thyme or willow branches. Long thin willow branches are used to wrap the bristles to the handle, but you can also use cording or twine. You'll also need a bucket of water and salt to soak the bristles and willow branches for binding. And of course, a tool to cut the twigs and cording.
Your bristles should be soaked overnight in warm, lightly salted water. This will make them more pliable, and they won't just snap when you bend them. If you're using the willow branches for binding, they need to be soaked as well. Let them dry just a little before using them, they need to be damp and flexible, but not dripping wet. If they dry out too much, just soak them again.
While the branches are soaking, get your handle ready. It should be free of twigs, branches, knots and bark. This is a good time to inscribe any symbols, sigils or writings you wish on the handle.
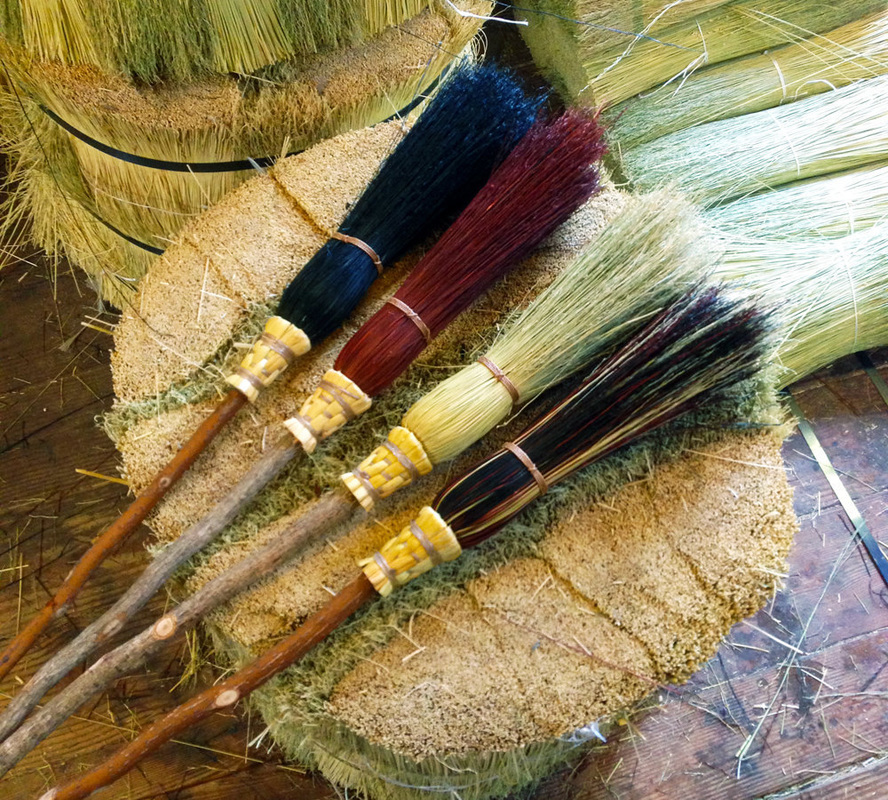
Gather a layer of bristles around the limb, about 8-10 cm (3-4 in) from the bottom of the handle. *The bottom of the bristles should be pointing toward the top of the besom at this point.* Start binding the bristles to the handle with the soaked willow branches, or whatever material you've chosen. Make sure they are tied on securely. You can add as many layers as you like, the more layers, the fuller the brush will be.
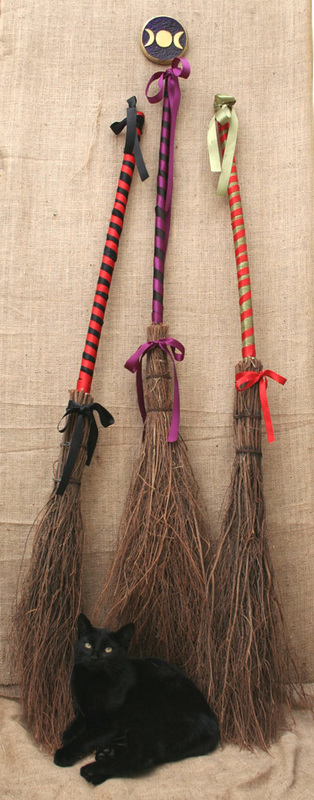
Once you've added all your layers, gently bend the top of the bristles over the bindings so that they are now pointing down. Tie the bristles again just below the bend. Trim the brush to the length you desire and leave the besom to dry overnight. Decorate as you wish and consecrate your new besom!
Once you've added all your layers, gently bend the top of the bristles over the bindings so that they are now pointing down. Tie the bristles again just below the bend. Trim the brush to the length you desire and leave the besom to dry overnight. Decorate as you wish and consecrate your new besom!
 |  |
How to Make a God's Eye

The Huichol Indians of Mexico use a simple frame of crossed sticks and bright yarn to weave a design known as “Ojo de Dios” or “Eye of God”. They call their God's Eyes "Sikuli," which translates as "the power to see and understand things unknown." A father will weave the central eye when a child is born, and will add an eye every year, until the child is five years old. God's Eyes are made to gain the favour and protection of the gods.

God's Eyes are very easy to make and are a camp craft favourite for kids. To make a God's Eye, you'll need 2 sticks that are fairly straight for the frame. Twigs, popsicle sticks or dowels are good choices. A few skeins of brightly coloured yarn will be needed to weave the eye. For decoration, you can add small bells, buttons, ribbon...anything your heart desires.
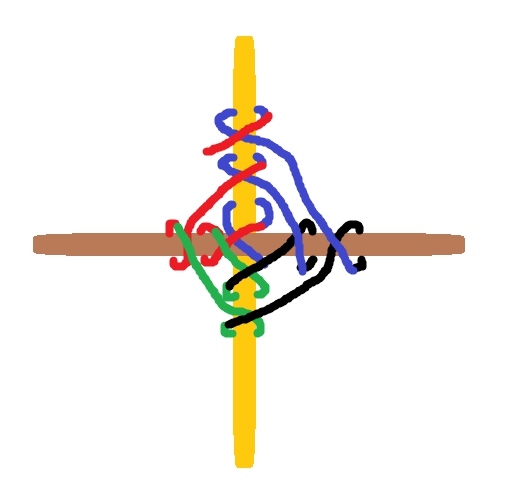
Cross the sticks at the center. Loop about 15 cm (6 in) of yarn and hold it against the back of the top stick. Wrap the yarn around the top stick and the loop then around the sticks, in an “X” pattern.
Bring the yarn down and wrap it around the left stick, then the bottom stick, the right stick and then up and around the top stick and loop once more. Keep wrapping the yarn in this fashion, left, bottom, right, top & loop, until the eye is as big as you want it to be.
Bring the yarn down and wrap it around the left stick, then the bottom stick, the right stick and then up and around the top stick and loop once more. Keep wrapping the yarn in this fashion, left, bottom, right, top & loop, until the eye is as big as you want it to be.
If you run out of yarn, or wish to change the colour, cut the piece you have been wrapping and simply tie on the end of the new yarn. Make sure the knot ends up at the back of the eye. Continue wrapping until you're happy with what you've got. To finish, knot the yarn in the back so that it won't unravel. The loop on the top stick is what you'll use to hang the finished God's Eye.
To make the larger version with five eyes, just start with 2 longer sticks, wrap your central eye, then cross a short stick at the end of each main arm and wrap the smaller eyes there. It's really just one large eye, and 4 smaller ones. Once you've got the technique down, change it up a little by adding more sticks, or play with the weave to produce elaborate, 3D works of art.
To make the larger version with five eyes, just start with 2 longer sticks, wrap your central eye, then cross a short stick at the end of each main arm and wrap the smaller eyes there. It's really just one large eye, and 4 smaller ones. Once you've got the technique down, change it up a little by adding more sticks, or play with the weave to produce elaborate, 3D works of art.
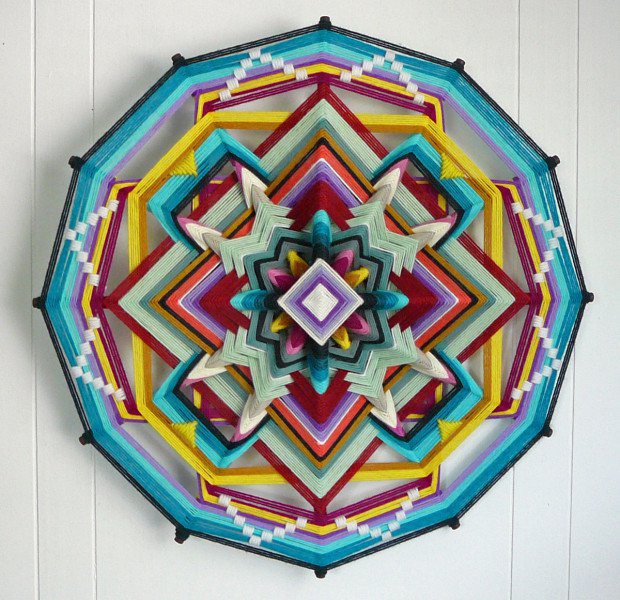
"Butterfly World" by Jay Mohler
Blessings and bounty be yours this Mabon celebration!
 RSS Feed
